Creating Social Media Posts
Create professional property marketing posts with AI-generated images and captions.
Market Trak helps you create scroll-stopping social media content for Facebook and Instagram, complete with AI-generated images and ready-to-publish captions.
Ways to create a post
There are four ways to create social media posts:
-
Post Creator - the dedicated visual editor at
/social-media/create -
Content Calendar - click any day on the calendar to create a post directly (see Creating from the calendar)
-
AI Assistant - ask the assistant to create a post for you in chat
-
Property Feed - automatically generated from new CRM listings (see Property Feed)
Using the Post Creator
-
Click Social Posts in the sidebar
-
Click the Create Post tab
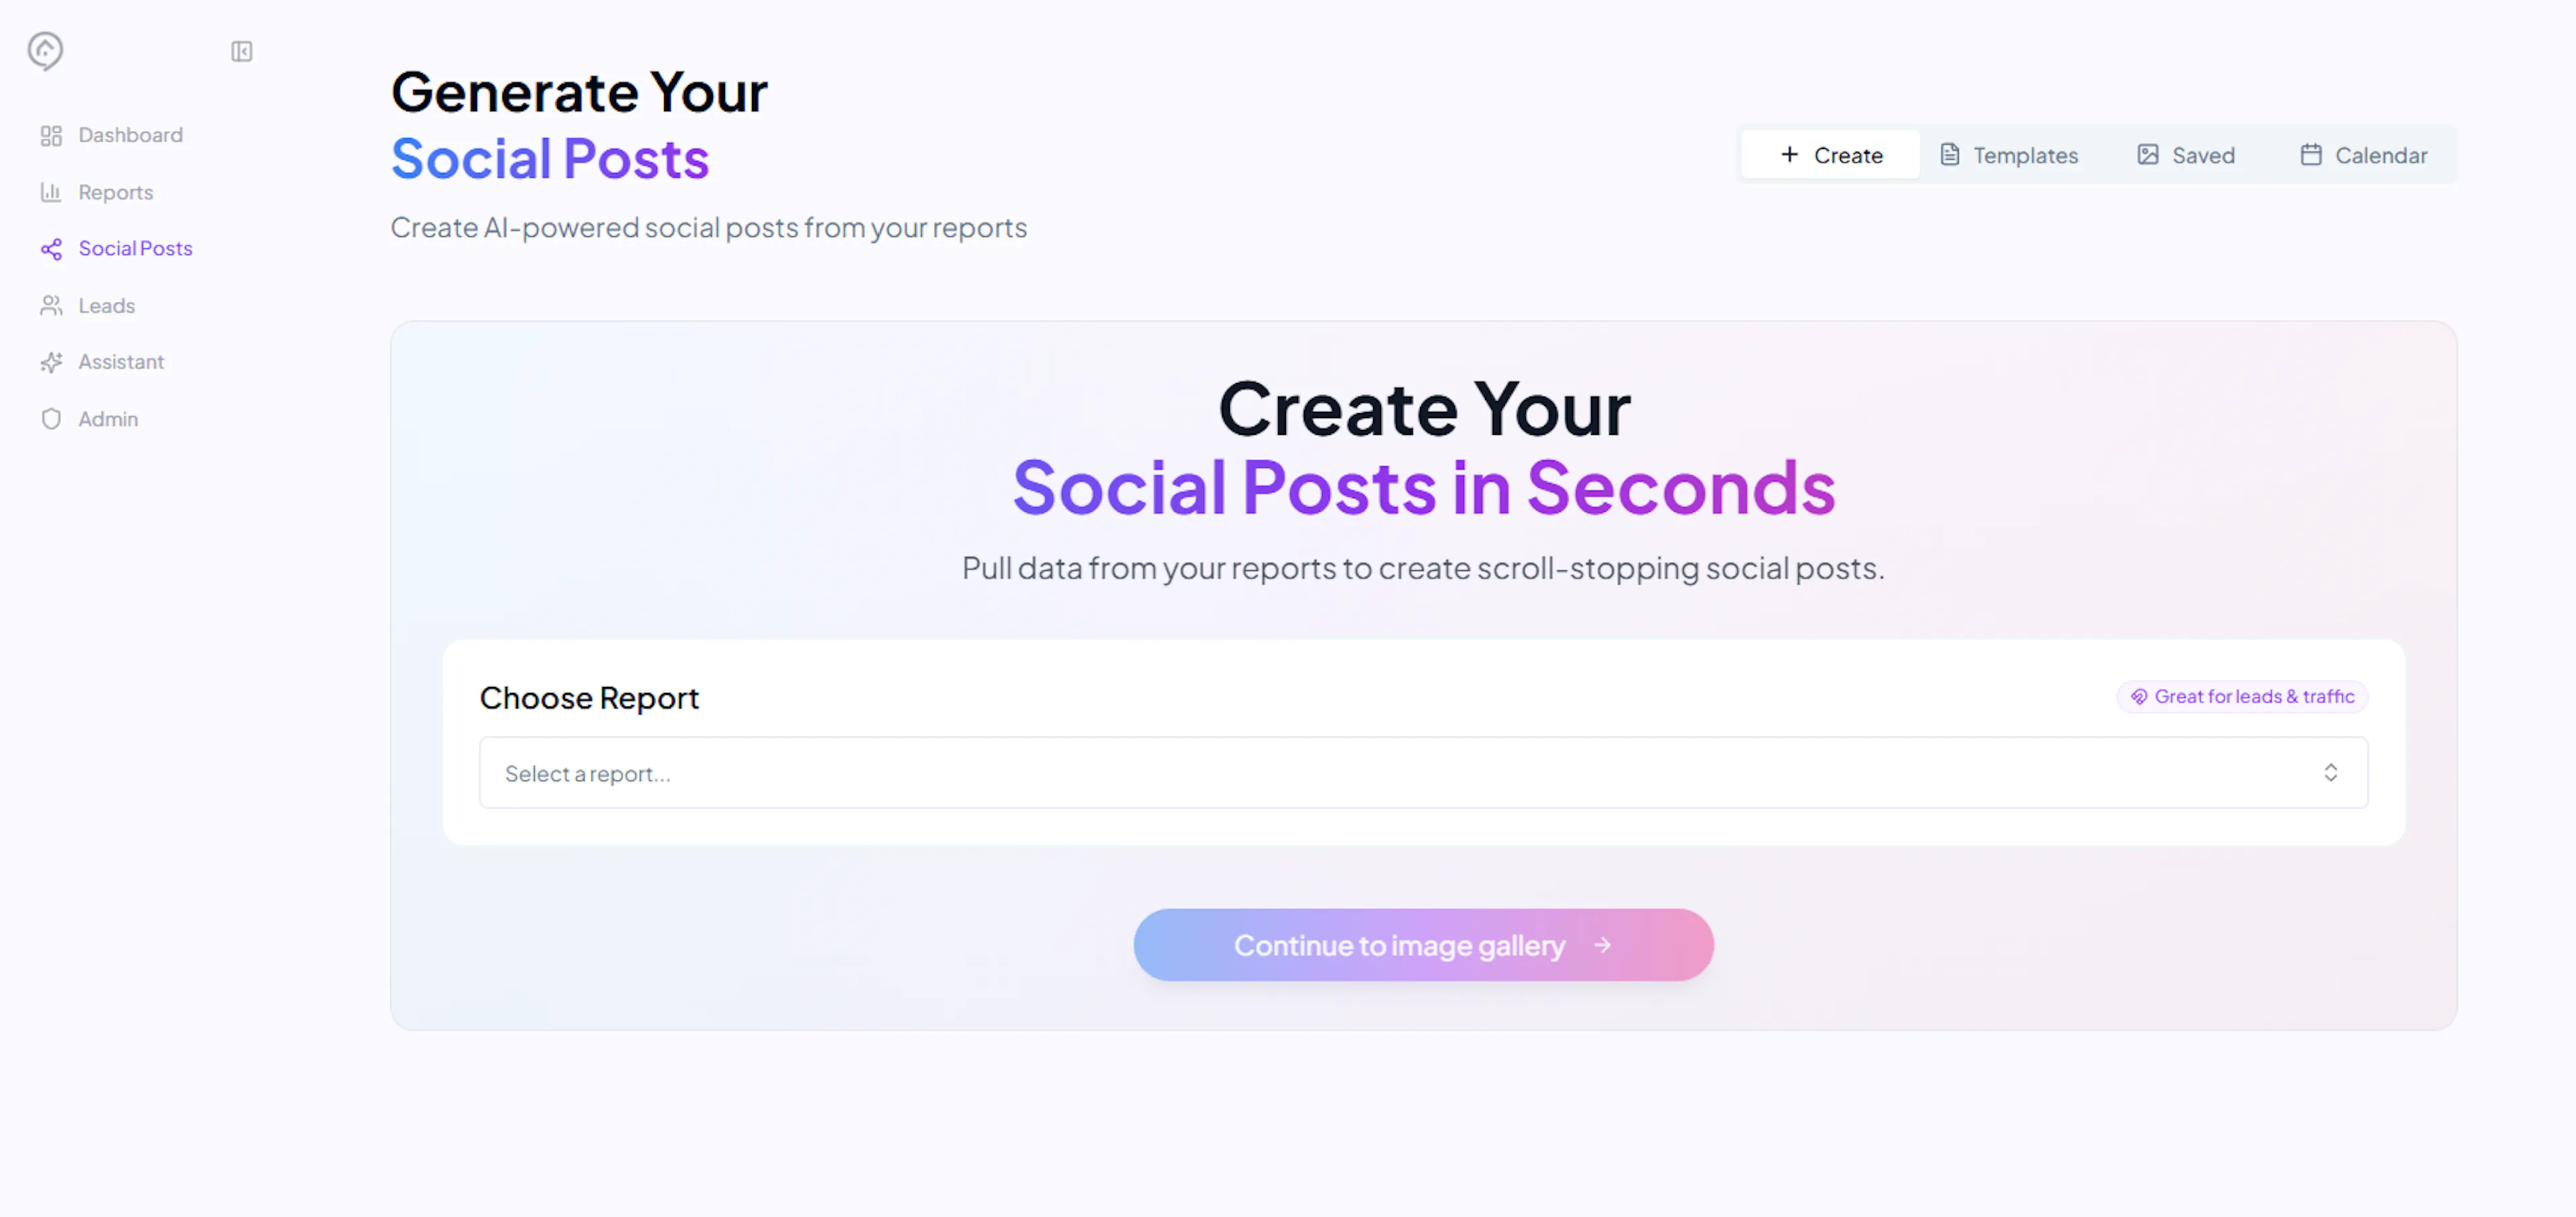
Selecting a report
You can optionally link a post to one of your existing reports. This pulls in real market data (average prices, trends, demand) as variables for your caption.
Use the report selector dropdown to choose a report, or click the X to clear it and create a post without report data.
Using templates
Save time with reusable post templates:
-
Go to the Templates tab at
/social-media/templates -
Browse or create templates with pre-written captions and variable placeholders
-
When creating a new post, select a template to pre-fill the caption
Post preview
Before publishing or saving, you can preview exactly how your post will look on social media with the mockup preview. This shows your image, caption, and branding as it would appear in a Facebook or Instagram feed.
Saving and publishing
Once your post is ready, you have several options:
-
Save as draft - keep it for later editing
-
Schedule - set a future date and time for automatic publishing (see Scheduling)
-
Publish now - send it directly to Facebook and Instagram if connected (see Facebook & Instagram Integration)
-
Download - save the image to your device for manual posting
Generating an AI image
Click Generate Image to create a professional image using AI. The image is tailored to your post content and can include property data overlays.
-
You can choose different aspect ratios (square, landscape, portrait)
-
If the image is not quite right, generate another one or use the Edit Image tool to touch up specific areas
Edit Image
The image editor lets you paint over specific areas of a generated image (highlighted in magenta), then either erase or edit just those areas:
-
Click the Edit Image button on your image
-
Use the brush to paint over the area you want to change. The brush cursor shows the exact size of your selection
-
Choose what to do with the highlighted area:
-
Erase - removes the content and fills with a clean background
-
Type a prompt - describe what you want to change (e.g. "make the sky a sunset", "change the text to say March 2026") and press Send
-
-
The rest of the image stays untouched
Quick edits (one-tap looks)
Inside the Edit Image tool, the Quick edits menu gives you ready-made looks that apply to the whole image in a single tap, with no brushing or typing. They're organised into two folders:
-
Effects - sky and lighting looks (night time, twilight, golden hour, sunny day, overcast, add blue sky), plus an architectural sketch and a cinematic mood.
-
Virtual staging - furnish an empty room in one of eight interior styles (Modern Minimalist, Scandinavian, Luxury Modern, Industrial, Contemporary, Traditional, Japandi, Urban Chic), or tidy a photo with Remove clutter and Remove cars.
Open a folder, pick a look, and it's applied to the whole photo. These are the same looks you'll find as slash commands in the AI Assistant (see Slash Commands).
Quick edits apply to the whole photo. To change just one spot, paint over it with the brush and type what you want instead.
Everything in the Edit Image tool works wherever images appear: the Post Creator, the Approval Queue, your Content Pack, the Property Ad Launcher, the AI Assistant chat, email drafts, and draft posts.
Writing your caption
Type your caption in the text editor. You can use template variables to auto-fill data:
| Variable | What it inserts |
|---|---|
{{location}} | The property or report location |
{{averagePrice}} | Formatted average price (e.g. £456,789) |
{{priceChange}} | Price trend with sign (e.g. +5%) |
{{marketTrend}} | Rising, Falling, or Stable |
{{demandRating}} | High, Medium, or Low |
Editing draft post images
When editing a draft post, click the pencil icon to enter edit mode. You can change the image entirely or use the Edit Image tool to make targeted changes to specific areas. The same editing tools are available on scheduled posts in the content calendar.
Creating from the calendar
You can create posts directly from the content calendar, which is useful for filling gaps in your schedule or posting ad-hoc content like event photos or team updates.
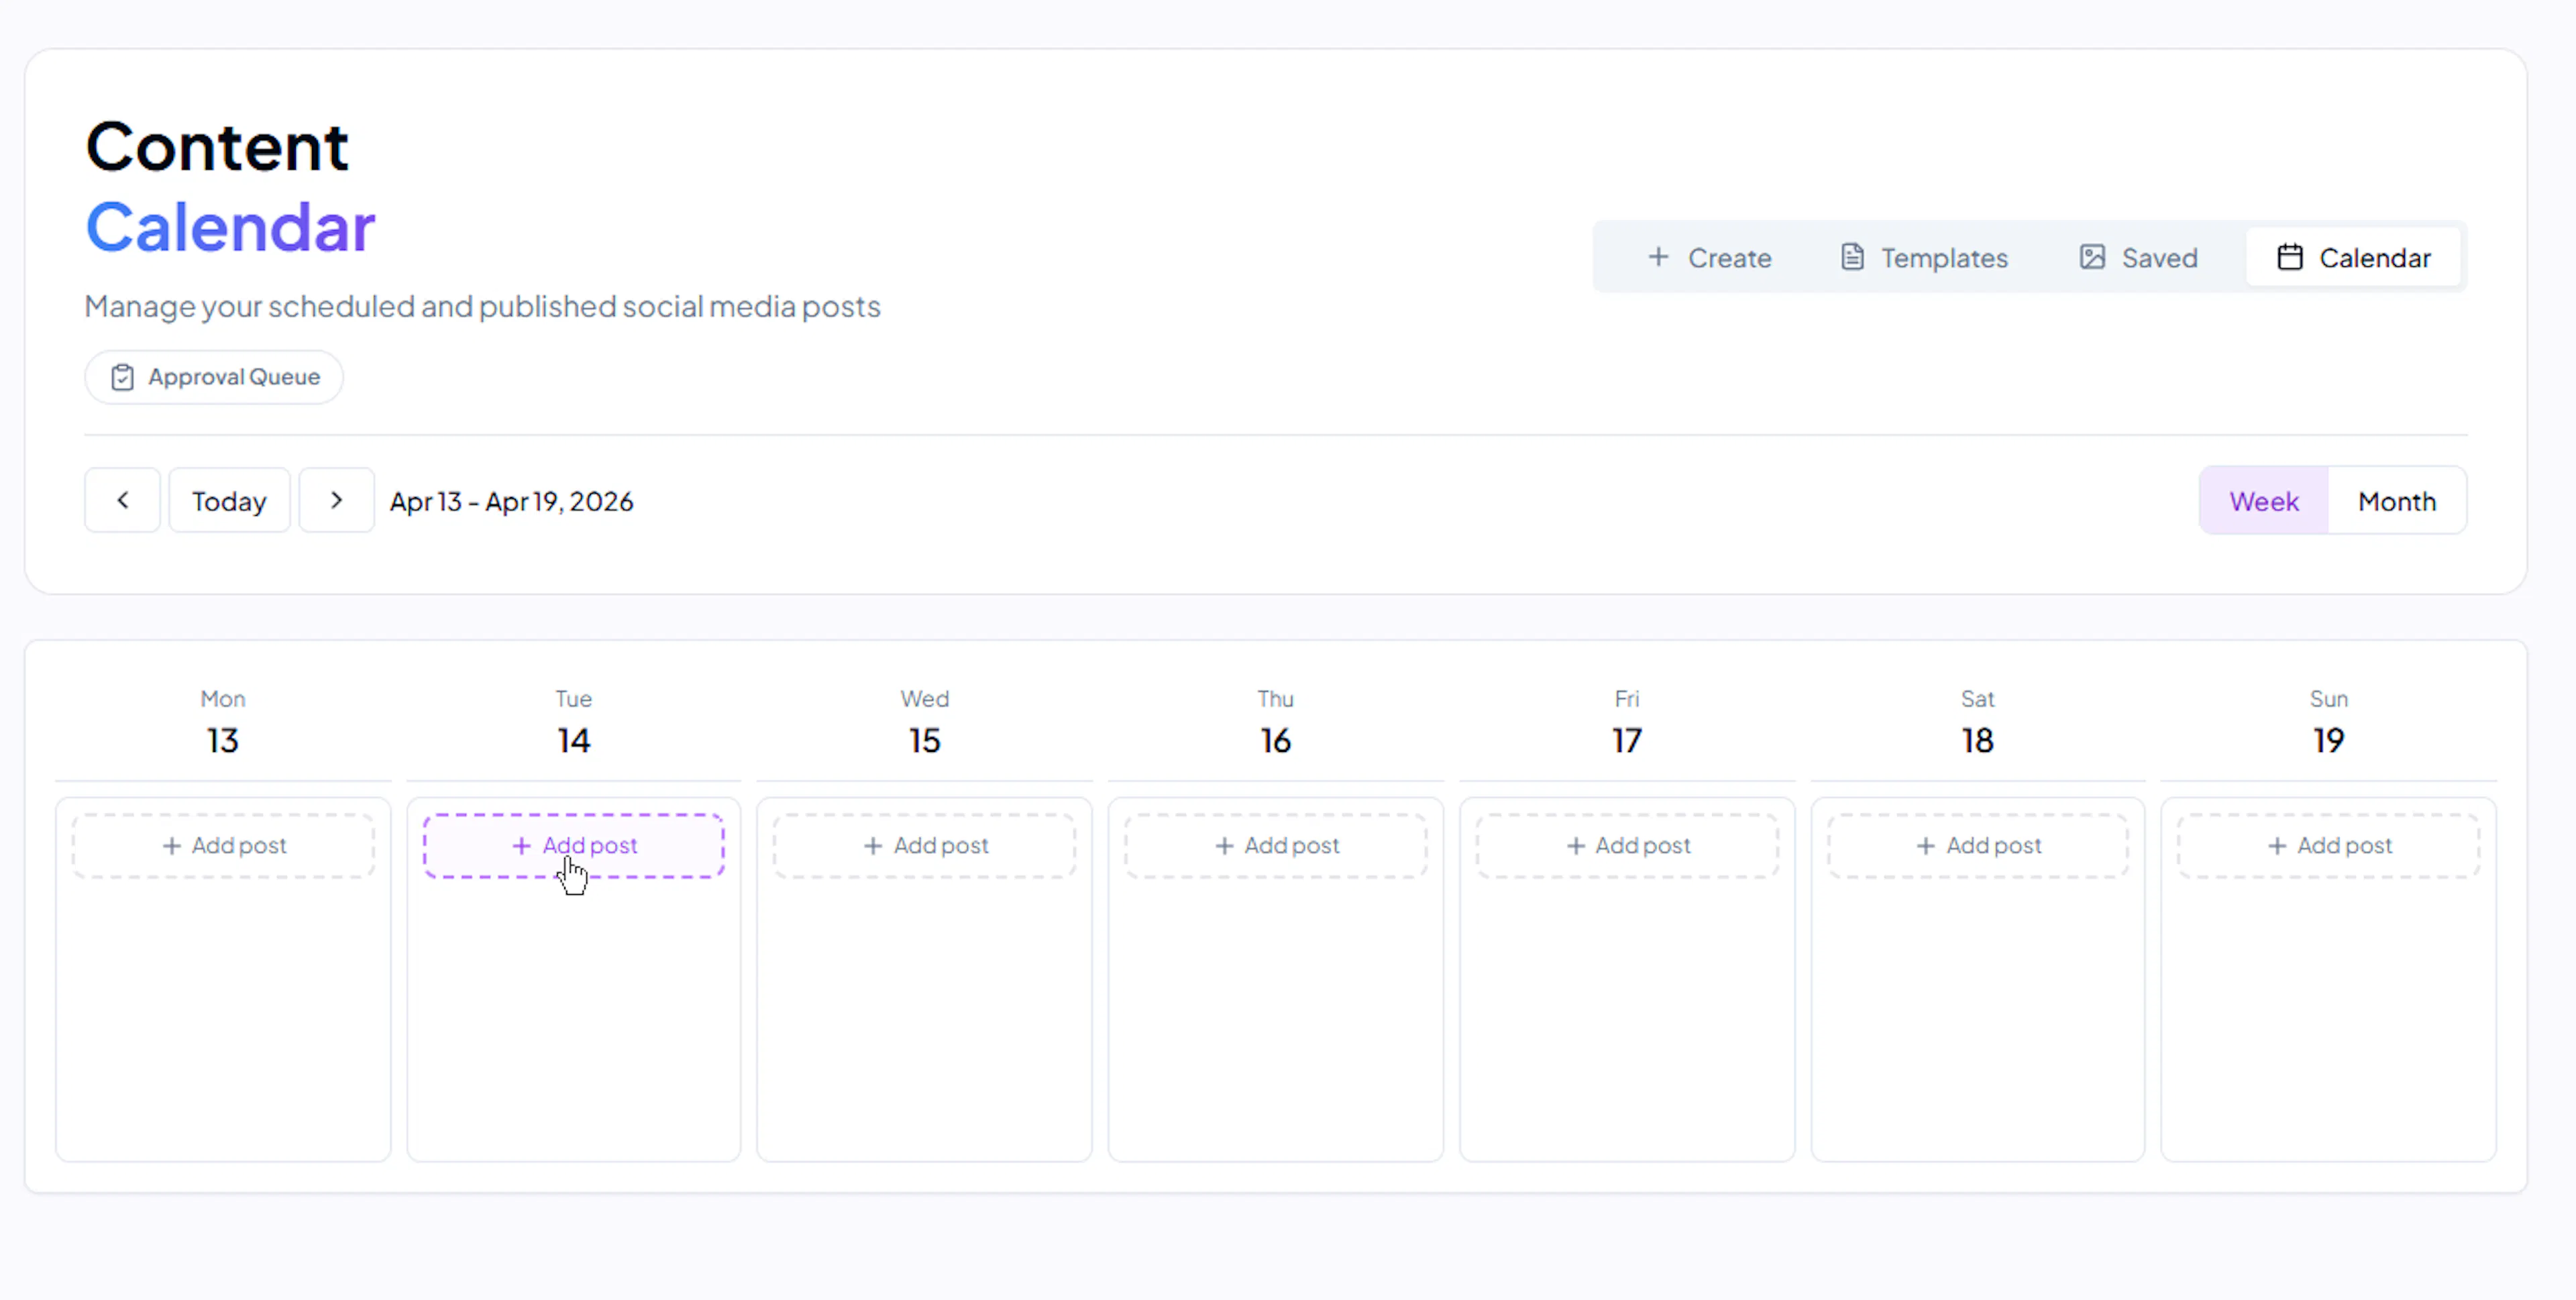
-
Go to Social Posts and click the Calendar tab
-
Click the Add Post button on any day (today or future dates only)
-
A panel slides in from the right with the post creator
-
Upload an image or video, or pick from your saved media library
-
Write your caption and choose your platforms (Facebook, Instagram)
-
Click Schedule Post to set a date and time, or Publish Now to post immediately
The calendar also lets you click on any existing post to preview it. From the preview panel, you can edit the caption, change media, update platforms, reschedule, or delete the post, all without leaving the calendar view.
Drafts
Posts you explicitly save are kept in the Drafts tab. You can revisit, edit, schedule, or publish any draft. When you publish or schedule a draft, it disappears from the Drafts tab and appears on the calendar instead. Posts are not auto-saved; use the Save as Draft button to keep a post for later.