

Content Packs
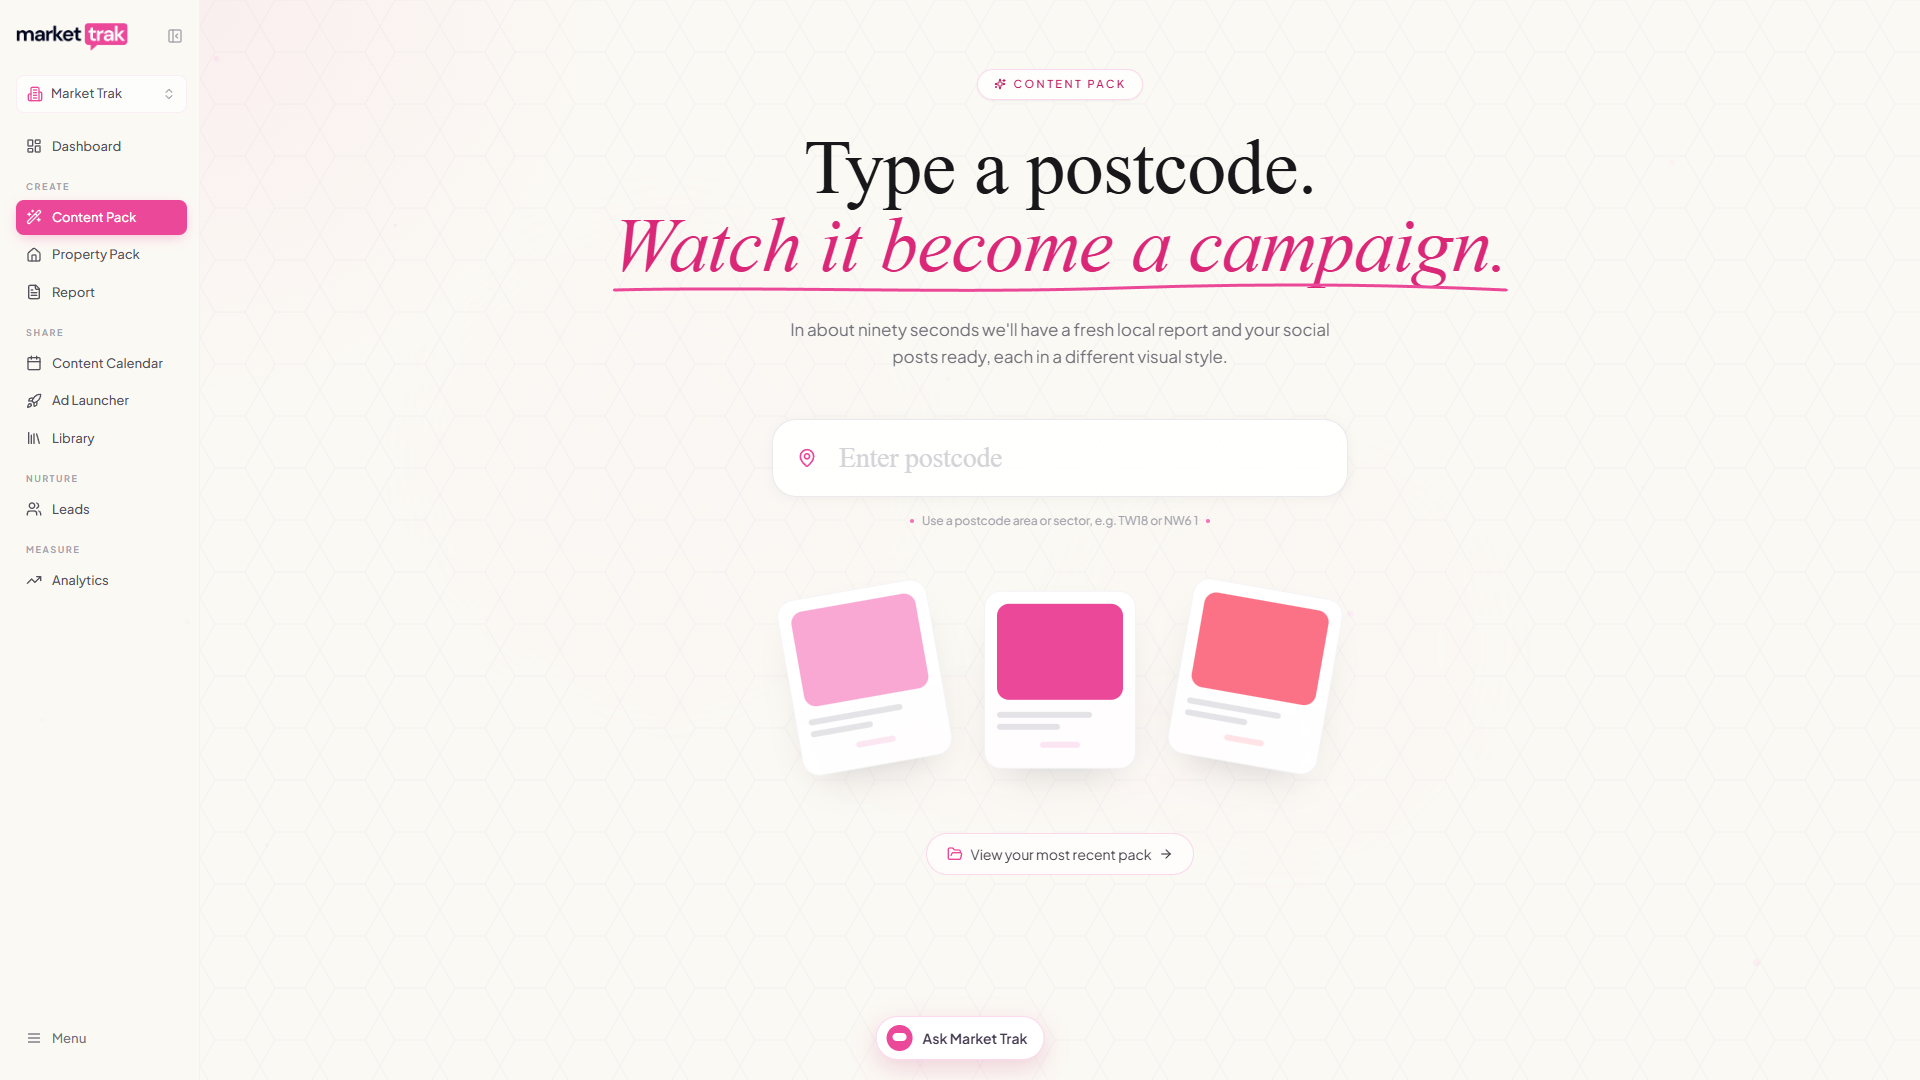
Type a postcode, get a fresh local market report and a ready-made week of six social posts, each with its own publish date.
The Content Packs page is the fastest way to produce a complete week of marketing content in Market Trak. You type in one postcode, choose the report style you want, and a couple of minutes later you have a finished local market report (in the style you picked, with your logo applied) and six matching social posts, each already assigned a suggested publish date across the coming week. Approve a post with a thumbs up and it goes on your calendar; the whole week can be approved in one tap.
Find it as the top item in the sidebar, marked with a sparkle icon.
What's in a pack
Every Content Pack is one postcode in, seven pieces of content out:
-
One local market report, the same report you'd get from the Reports page. Average prices, demand rating, days on market, sold prices, and price-per-square-foot data for the postcode you typed. It comes in whichever report style you choose when you create the pack (Sellers Guide, Data Sheet, or the glossy Article Report; see below), with your workspace logo applied automatically.
-
Six social posts, one for each day of your week, each with a different subject and visual style so your feed never repeats itself. A typical pack mixes:
- A headline local market figure on a designed editorial image
- Practical seller tips (pricing, presentation, kerb appeal and more, rotating week to week)
- A second fresh figure or a warm local-life post about the area
- A gentle invitation to get a free instant valuation
- A "get the free guide" post that links readers to your new report
Every post has caption text written for the postcode and the live data in the report, a working link back to your report or your instant valuation page, and your branding on the image.
The report is saved to your Library (the Reports tab) and stays there forever. The six posts live on the Content Pack canvas, where you review the week and approve it. Posts you approve (or publish) are yours forever; posts you don't action are cleared 30 days after the pack was generated to keep your account tidy.
How to generate a pack
Open the Content Packs page
Click Content Packs at the top of the sidebar.
Type a postcode
Use the first part of the postcode, e.g. M21 or NW6, to cover the whole district. Autocomplete suggests UK postcodes as you type; tap the one you want to continue. If you'd rather type the whole thing yourself, a pink arrow appears beside the box once we recognise the postcode, and tapping it takes you to the next step.
On a paid plan you can go one level more local and type a postcode sector, like M21 9, when your patch is a specific part of a district. Your report and posts then carry the sector's own area name rather than the district's town. A small note under the box reminds you that the wider district returns a broader data sample; both are fine choices, so pick the one that matches your patch.
If you paste a full postcode like M21 0QN we trim it for you (to the sector on a paid plan, to the district otherwise). The reason: a full postcode narrows down to a single street, which thins out the market data too far to write a week of posts from.
Choose your report style
Pick how your pack's report should look. It's the same local market data presented three ways:
- Sellers Guide (the default) - a warm, practical guide on pricing and presenting a home well. A ready-made lead magnet for your social posts.
- Data Sheet - the numbers laid out clean and graphical. Ideal for a quick fact-check or your email newsletter.
- Article Report - the glossy, magazine-style Area Spotlight with a cover story and commentary. Built for high-end vendors and your blog.
Tap the style you want, then click Generate your pack. On a phone that button appears along the bottom of the screen as soon as you pick a style, so you don't need to scroll past the cards to reach it. You'll see a progress bar showing each real stage: fetching market data, drafting the report, writing your posts, and generating the six images. A full pack takes two to three minutes.
Review and approve your week
Your six posts appear in a grid, with a small Data source link underneath that opens the full report behind the numbers. Each post carries a date chip with its suggested publish moment, and a thumbs up and thumbs down. Approve the posts you like, swap out the ones you don't (see the next section), and your week is done. The first time you see a pack, a short tour points these out; if your Facebook Page isn't connected yet, a strip above the posts connects it in one click and brings you straight back to the same pack.
Reviewing your week
Every post in the pack is pre-assigned a publish date: one post a day starting tomorrow, at a good posting time such as 10am on a weekday or 11am at the weekend. The suggested times are picked around whatever is already on your calendar, so pack posts avoid clashing with each other and with anything else you have scheduled; if a day is already full, that post moves to the next day with room. Nothing is scheduled until you approve it, so the dates are suggestions until you say yes.
When you press Approve the week, the times are checked once more against your live calendar at that moment. If something new has appeared since the pack was planned, the clashing post is quietly moved to the nearest clear time (staying on its own day where possible) and the approval window tells you before you confirm. Dates and times you have set yourself are never changed.
-
Change a date: tap the date chip on any post to pick a different day or time. If a pack has been sitting a while and a date has already passed, the chip turns red and you'll need to pick a new date before that post can be approved.
-
Thumbs up (approve): one tap schedules the post to its date on your connected channels (your Facebook Page, plus Instagram if your page has an Instagram account linked). The card then shows its scheduled time, with two quiet options underneath: Publish now instead (posts it immediately and takes it off the calendar) and Change date. An approved post lives on your Content Calendar, not in your Library: the Library is for posts you bookmark to keep without a date.
-
Thumbs down: one tap removes the post and frees up its slot (there's an Undo in the message if it was a slip). The empty slot offers Build a new post: click it and Market Trak builds a deliberately different post for that day, avoiding the subject and angle of the one you rejected and anything else already in the pack. Your first two new posts per pack are free; after that each one costs a small credit fee (the same as regenerating an image).
-
Save for later (the bookmark): love a post but don't want it on a date yet? The small bookmark beside the thumbs saves it to your Library with no date attached. Schedule or publish it from the Library's Posts tab whenever you like.
-
Approve the week: one button above the grid schedules every post you haven't actioned yet, each to its own date. It first shows a dialog where you confirm which channels to post to (and connect Facebook right there if you haven't yet). Your Facebook Page is ticked, and Instagram too if your Page has an Instagram account linked, so this matches what approving posts one at a time does; untick either if you want a channel left out. If some of the planned dates have already passed, the dialog tells you and the button becomes Update dates and approve: your posts get fresh dates, one a day starting tomorrow, so an older pack can go out as next week's content. Empty slots are simply left out.
-
Edit anything first: the pencil on each card edits the caption and hashtags, and hovering the image lets you Replace it (with a photo or a video) or Edit image with the AI editor. If you edit a post after approving it, your changes carry through to what gets published.
Approving a post is what keeps it. Approved and published posts are yours forever; anything left unapproved is cleared 30 days after the pack was generated.
How the links inside posts work
One post in every pack invites readers to a free instant valuation and links to your valuation page; the rest link to the public version of your new report (including the "get the free guide" post, which presents the report as your free local guide). These links are filled in automatically after generation:
-
The report link points to the public version of the report we just created for you. Anyone you share the post with can click through and read the report without logging in.
-
The valuation link uses your vanity URL if you've set one (e.g.
mtrak.me/valuation/your-agency) and falls back to the standard valuation URL for your workspace otherwise.
You don't need to paste any URLs yourself. If you edit a caption, the link survives the edit.
Tips for great packs
-
Pick areas you actually work in. Content Packs work best in postcodes where your agency operates and the market data is rich. M21, NW6, RG6, M1, anything that maps to a recognisable neighbourhood.
-
Generate one pack a week per area. A pack a week fills your calendar for the week ahead and keeps your reports fresh. Once a postcode's market data has moved, regenerating gives you new numbers to talk about.
-
Use the thumbs honestly. Thumbs down anything that doesn't feel like you and build a replacement; you're never stuck with a post you don't love, and the first two replacements per pack are free.
-
Edit the caption to match your voice, and it will learn. Our AI gets you 95% of the way there but small tweaks make a post feel like you. The pencil icon on each post enters edit mode so you can change the caption, swap the image, or use the AI image-edit brush. Your rewrites are not just changes to that one post: Market Trak compares what it wrote with what you kept, and once the same kind of change has come up a few times it writes that way from the start, here and in your Swipes, property posts and the assistant. This works from your very first pack, so it is worth rewording the ones that do not sound like you rather than leaving them.
Credits
Generating a Content Pack uses one flat pack price from your credits, covering the report and all six posts together. You're only charged once the pack has finished successfully, so a pack that fails to generate costs you nothing. Building a replacement post after a thumbs down is free twice per pack, then costs the image regeneration fee per post. See How Credits Work for current costs.
If you don't have enough credits to generate a pack, you'll see a message telling you how many you need, with a link to top up, before any work starts.
Your very first pack, generated during the welcome experience, is free and contains all six posts, exactly like every pack after it. Subscribing lets you generate a fresh pack whenever you need one, across your postcode areas.
After generating
-
The report lives in your Library on the Reports tab. You can edit, share, regenerate, or track engagement on it like any other report. If you already had a report for that postcode in the same style, your new pack refreshes your most recent one with current data instead of creating a duplicate: its share link stays the same, so posts that link to it show up-to-date numbers after each new pack, and any wording you've edited on it is kept.
-
Approved posts land on your Calendar and publish automatically at their scheduled times. Posts you don't approve are cleared after 30 days, along with the canvas itself. If you click an old Content Pack link from a 30+ day-old email you'll land on a friendly page explaining the pack expired, with a button to generate a new one.
-
Generate as many packs back-to-back as you need. There's no limit beyond your credits.
Related
- Creating Content with the Assistant, you can also start a Content Pack straight from the assistant chat without opening the Content Packs page
- Your First Welcome Flow, first-time users generate their very first Content Pack as part of the welcome experience
- Scheduling and Publishing, where your approved posts live and publish from
- Generating a Report, the standalone report generator if you want a report without the social posts
- Creating Posts, the standalone post creator if you want a single post without a report